Sunday 13 November 2016

How to enable Feedback in Dynamics crm 2016

How to manage Feedback in Dynamics crm 2016

To improve customer satisfaction, tracking customer feedback for the products and services that your organization offers is very important. You can now add feedback or ratings to records for any entity that is enabled for feedback.
For example, if the Case entity is enabled for feedback, you can capture feedback on the support experience the customer received for the case. When several customers are rating a record, the ratings can be consolidated for each record through a custom rollup field. In a sales scenario, you can enable the Product entity for feedback to capture users' feedback on the products you sell.
Here, we;ll learn how to enable feedback for an entity and how to get the collaborated rating from multiple feedbacks of a record.
Important
This feature was introduced in CRM Online 2016 Update 1 and in CRM 2016 SP1 (on-premises).
We'll take case entity in our example and learn to enable entity and capturing average feedback rating from multiple feedbacks in case itself with the help of a roll-up field in below step by step procedure:
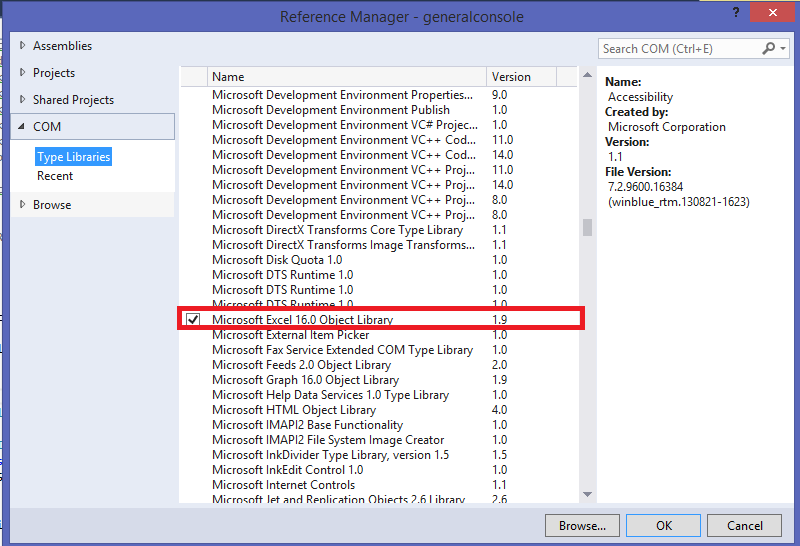
Step 1: Navigate to setting->Customization->Customize the system as shown in image below:

Step 2: Click on entity of your choice on which you want to enable feedback. In our case it's case entity. 
In Communication and collaboration check the feedback checkbox to enable feedback for case.
Note: Once enabled for an entity it can't be disabled again.


Step 3: Now save and publish the entity.

This is how feedback is simply enabled for an entity.

Let's now see how we can insert record in feedback of a case:

Step 1: Open the related records of case by clicking as below:

Step 2: A related feedback grid appears. Click on new feedback to add new feedback for this case as shown in below image:


Step 3: Create a new feedback record and set regarding field to the above case manually to attach the feedback to this case:

This  is how you can add a feedback record for a record.

If you have observed, in the above procedure we have to manually set  the regarding field to the case and this in not much convenient to navigate to feedback first and then add a new feedback.

To overcome this you can add a subgrid of feedback over case form itself so that user can directly add feedback from case record itself and there  isn't any need of setting regarding field separately as system itself create feedback record related to case:

Below is the step by step procedure of adding a subgrid on a form:

  1. Go to Settings > Customizations.
  2. Choose Customize the System.
  3. Under Components, expand Entities, and then expand the entity you've enabled for feedback.
  4. Click Forms.
  5. Open the form of type Main or Main - Interactive experience.
    The Main - Interactive experience form is used in the interactive service hub.
  6. Select the section you want to insert the subgrid in, and on the Insert tab, in the Control group, click Sub-Grid.
  7. In the Set Properties dialog box, fill in the name and label for the subgrid.
  8. In the Data Source section, select the information:
    • Records. Select Only Related Records.
    • Entity. Select Feedback (Regarding).
    • Default View. Select a default view for the list.
9. Click save and publish to make change effective.


You might want to get the average collaborated rating given by customers for a given case through feedback records on case record.
This can be easily done with the help of roll-up field.
Below is the step by step procedure to create a rollup field to calculate the average rating for a case:

Step 1:  Add a new field on case entity as shown in image below.
Datatype of field should be whole number and make it of type rollup and click edit to set an aggregation formula:

Step 2:  Set the properties as shown below:

Step 3: Save the field and place the field on the place of your choice in case form and publish the case form.

Step 4:  Let's say there are 3 feedback records for a case with ratings 3.4 and 5 as shown in below image:


Step 5:
Calculating average rating: 

This was how you can enable and configure feedback in your system for any entity.

Hope this post was helpful.

Keep following for more updates...!!

Monday 7 November 2016

Server side business Rules in MS Dynamics crm 2015 and later

Make the Business Rule execute over server side in Dynamics CRM 2015 and later
In CRM 2015, there is a very important update which can be considered for replacing many workflows or plugins – Executing Business Rules from Server Side code.

When Business Rule feature was introduced in CRM 2013, it was capable of executing from client side alone and with the 2015 update, we now be able to execute business rule from server side as well- which is a great feature

Hope it would be useful...!

Saturday 5 November 2016

How to write data to an excel sheet using asp.net C# code

How to write data to an excel sheet using asp.net C# code


In our last post, we discussed how we can read the data from excel using c# code.

In this post we will discuss how one can create an excel workbook and write data  in it using ASP.Net C# code.

Let's say we want to write below data to an excel workbook named StudentDetails:

Name                       Age
Tony                        25
Robert                     34
Harry                      18
Tom                        21

Below is the step by step procedure to do the same:

Step 1: Create a basic .Net console application in Visual Studio.

Step 2: In the solution explorer in right hand side,right click on reference and click add reference:


Step 3: Select "Microsoft Excel 16.0 Object Library" and click on add:


Step 4: Include "using Excel = Microsoft.Office.Interop.Excel;" :


Step 5:  Add below function in you code to read the excel sheet:

//////////////////////////////////////////////////////////////////////////////////////////////////////////////////////////////////////////////////////////////////////////////////////////////
public static void WriteExcel()
        {
            Excel.Application xlApp = new Microsoft.Office.Interop.Excel.Application();
            if (xlApp != null)
            {
                Excel.Workbook excelWorkbook;
                Excel.Worksheet excelSheet;
                object misValue = System.Reflection.Missing.Value;
                excelWorkbook = xlApp.Workbooks.Add(misValue);
                excelSheet = (Excel.Worksheet)excelWorkbook.Worksheets.get_Item(1);

                excelSheet.Cells[1, 1] = "Name";
                excelSheet.Cells[1, 2] = "Age";
                excelSheet.Cells[2, 1] = "Tony";
                excelSheet.Cells[2, 2] = 25;
                excelSheet.Cells[3, 1] = "Robert";
                excelSheet.Cells[3, 2] = 34;
                excelSheet.Cells[4, 1] = "Harry";
                excelSheet.Cells[4, 2] = 18;
                excelSheet.Cells[5, 1] = "Tom";
                excelSheet.Cells[5, 2] = 21;

                excelWorkbook.SaveAs("d:\\StudentsDetails.xls", Excel.XlFileFormat.xlWorkbookNormal, misValue, misValue, misValue, misValue, Excel.XlSaveAsAccessMode.xlExclusive, misValue, misValue, misValue, misValue, misValue);
                excelWorkbook.Close(true, misValue, misValue);
                xlApp.Quit();
            }

        }


////////////////////////////////////////////////////////////////////////////////////////////////////////////////////////////////////////////////////////////////////////////   

As the above code executes, excel sheet named StudentsDeatails get created in d drive having data as shown below:


Now you can manipulate the above code to write down your data into excel sheet.

Hope it was helpful.

Friday 4 November 2016

How to read data from an excel sheet using asp.net C# code

How to read data from an excel sheet using asp.net C# code


Sometimes one needs to access data from excel sheet using code to perform some action using that data.

Taking dynamics crm into consideration one scenario may be that where we have a list of records (unique id or GUID of records) which we have to update from back-end using asp.net C# code.

Here we have step by step code to read data from excel sheet and free to do any action on that data in other system:

Ex: We want to read an excel sheet located at "d:\testexcel":
  Our testexcel have below data in it:

Through our demo application we'll read the data in this sheet and print it on console:

Step 1: Create a basic .Net console application in Visual Studio.

Step 2: In the solution explorer in right hand side,right click on reference and click add reference:


Step 3: Select "Microsoft Office 16.0 Object Library" and click on add:


Step 4: Include "using Excel = Microsoft.Office.Interop.Excel;" :


Step 5:  Add below function in you code to read the excel sheet:

//////////////////////////////////////////////////////////////////////////////////////////////////////////////////////////////////////////////////////////////////////////////////////////////
 public static void ReadExcel()
        {

            Excel.Application xlApp;
            Excel.Workbook xlWorkBook;
            Excel.Worksheet xlWorkSheet;
            Excel.Range range;

            string str;
            int RowCount;
            int ColumnCount;
            int TotalRow = 0;
            int TotalColumn = 0;

            xlApp = new Excel.Application();
            xlWorkBook = xlApp.Workbooks.Open(@"d:\testexcel", 0, true, 5, "", "", true, Microsoft.Office.Interop.Excel.XlPlatform.xlWindows, "\t", false, false, 0, true, 1, 0);
            xlWorkSheet = (Excel.Worksheet)xlWorkBook.Worksheets.get_Item(1);

            range = xlWorkSheet.UsedRange;
            TotalRow = range.Rows.Count;
            TotalColumn = range.Columns.Count;


            for (RowCount = 1; RowCount <= TotalRow; RowCount++)
            {
                for (ColumnCount = 1; ColumnCount <= TotalColumn; ColumnCount++)
                {
                    str = (string)(range.Cells[RowCount, ColumnCount] as Excel.Range).Value2;
                    Console.Write(str);
                    Console.Write("\t");
                }

                Console.Write("\n");
            }

            xlWorkBook.Close(true, null, null);
            xlApp.Quit();

        }

//////////////////////////////////////////////////////////////////////////////////////////////////////////////////////////////////////////////////////////////////////////////////////////////


Below will be the output of above code on console screen:


Now you can manipulate the above code to use the data red from excel as per your requirement.

Hope it was helpful.